WARNING!
IF YOU ARE NOT A CRAFTER,
YOU WILL WANT TO SKIP THIS POST!!
For the rest of you, here are a few how-to's
and tips for fast and easy handmade cards using scraps.
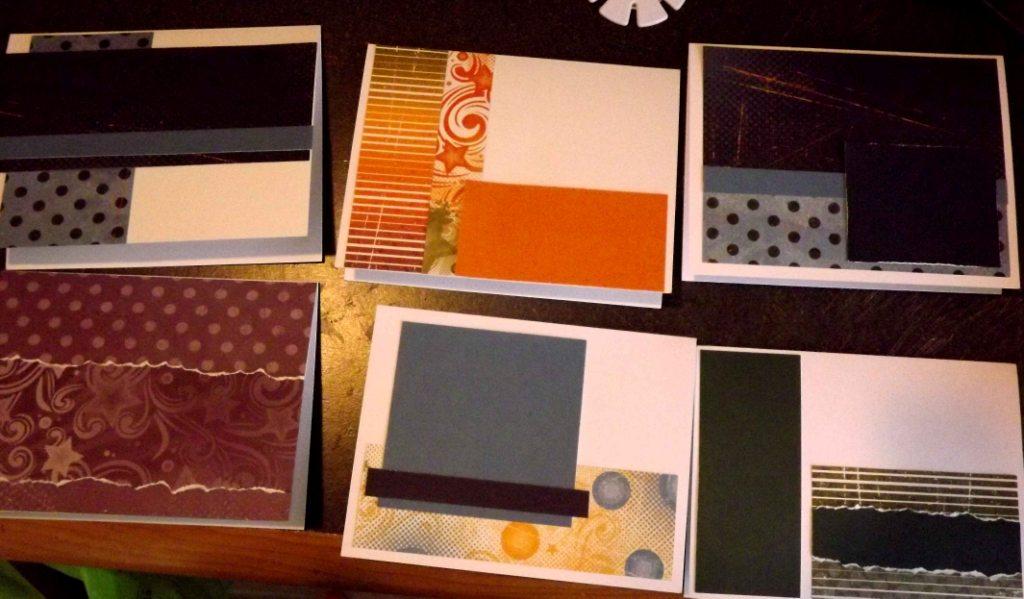
Here are few pictures of the finished cards. I made 12 cards using only the scraps from a set of pages I made. I don't think they look like cards made from leftovers!


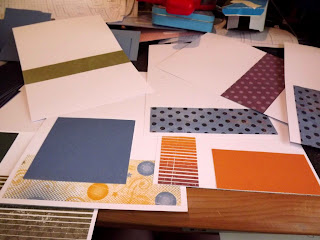
In order to get the quantity of scraps for the cards, I had to make some pages :) Here are the pages. I used one paper pack (it had 12 pattern papers and 10 cardstock plus I used an assortment of base pages.) This made 26 12x12 pages, or 13 layouts. For more information on how I do that, search page patterns in my search bar!

- After taking pictures of my pages and ooh and ahhing over more picture ready pages, I started with my stack of scraps. Sort the scraps into groups according to WIDTH!


- Any piece that has a width of 4" or more I put back into my bag. I consider this to be too big to waste on a card. I might use it later, but it's a keeper for a scrapbook page in my opinion!
- Now, I take my pile of 2" scraps and sort those according to pattern and color. This is the pile I start with when making cards.
- Once sorted, I pick up a 2" piece and glue it onto a card base. No real thinking goes on here. I will cut it to size in one direction, but I really do just try to only make one cut per piece of paper at this stage of card making. By doing this, in a matter of a minute I have card bases ready to go!
- Now, add a pop of interest by using up first the remainder larger scraps and then go to the 1/2" and 1" stacks to tie two different patterns together or for just a fun band. The key at this stage is to make a nice looking card, but to not spend more than a minute on the layout. We aren't making award winning card designs here. We are a making a dozen cards in flash!
- With the 12 card bases ready, I then look for a few stamps to use and try my best to keep it to only 2 or 3 different stamps and inks.
- I stamp the sentiment on the card sometimes, but I happen to be really, really bad at placement and smudging. So, I have learned to stamp on another piece of paper and glue. Besides, I think it looks nice when the sentiment is layered. :)
- Finally, I spend most of the time embellishing the cards. Over the years, I have made LOTS AND LOTS of heavily embellished and thick cards, but they then don't fit in the envelope very well and it's expensive to mail them. So, I try to just embellish with flat things or try to keep it somewhat simple. As you would guess, I only use what's readily available. I'm not going to go out and buy coordinating ribbon for my cards! That would ruin the free factor!
- So there you have it. My completed cards. Because I can only do a couple of things at a time and have to referee children, or cook or clean or whatever, I can't tell you how much time was spent making the cards, but probably no more than 2 hours total if I had to guess to make 12 cards! Not bad!! And even better, my premade card box has been refilled!


And here is one last look at the set of stuff.
12 cards.
26 pages
and a bag of scraps to use when I put pictures on my pages.

Papers and Stamps: Close To My Heart
No comments:
Post a Comment